
Firex Smoke Alarm Instruction Manual: A Comprehensive Guide
This manual details the Firex PADC240 smoke alarm, essential for single-family homes, offering guidance on installation, testing, and maintenance for optimal fire safety․
Firex smoke alarms are meticulously engineered life-safety devices, designed to provide early warning in the event of a fire, offering crucial time for escape and potentially minimizing damage․ These alarms are specifically intended for residential use, particularly within single-family homes, though guidance stresses individual units within multi-family dwellings should each possess their own dedicated smoke detection system․
It’s vital to understand that Firex alarms are not designed for installation in non-residential buildings․ The PADC240 model, and others within the Firex range, represent a commitment to reliable performance and user-friendly operation․ This manual serves as a comprehensive resource, unlocking the full potential of your new Firex alarm․
We appreciate you choosing Firex for your home safety needs, and we are confident this guide will empower you with the knowledge to properly install, maintain, and utilize your smoke alarm effectively, ensuring peace of mind for you and your family․
Understanding the Importance of Smoke Detection
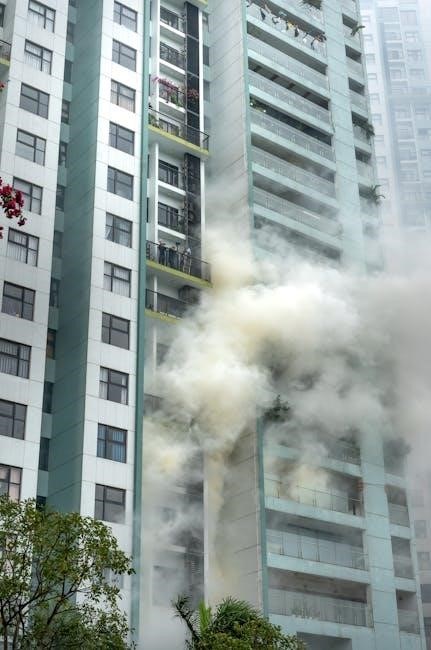
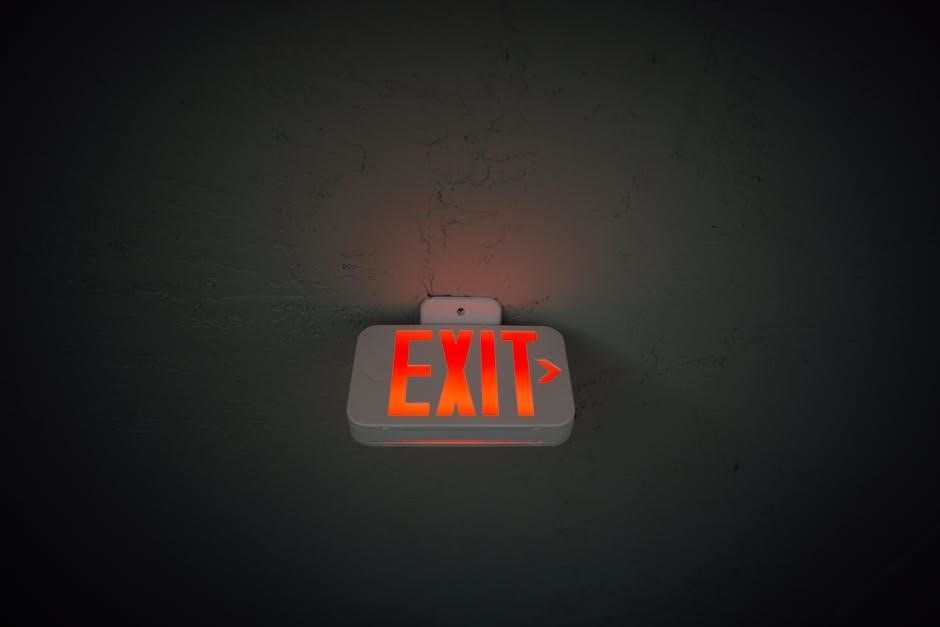
Early detection is paramount when it comes to fire safety, and a properly functioning smoke alarm is your first line of defense․ Fires can spread rapidly, and the initial moments are critical for ensuring the safe evacuation of occupants․ Smoke inhalation is a significant danger, often causing incapacitation before flames become visible, making early warning absolutely essential․
A Firex smoke alarm doesn’t just detect flames; it identifies the presence of smoke particles, providing an alert even before a fire fully develops․ This crucial head-start allows valuable time to escape, contact emergency services, and potentially contain the fire before it escalates․
Regular testing and maintenance, as outlined in this manual, are vital to guarantee your alarm’s reliability․ Ignoring smoke detection can have devastating consequences․ Prioritizing this simple yet effective safety measure is an investment in the well-being of yourself, your loved ones, and your property․
Installation Guide
Proper installation is key for optimal performance․ This section provides detailed instructions for mounting, wiring (hardwired models), and battery installation, ensuring reliable smoke detection․

Choosing the Correct Location for Your Alarm
Strategic placement is crucial for effective smoke detection․ Install alarms inside each sleeping area and on every level of your home, including the basement․ Avoid installing in kitchens, bathrooms, or near steam sources due to potential false alarms․
Locate alarms at least 10 feet away from cooking appliances․ For hallways longer than 40 feet, install an alarm at each end․ On sloped ceilings, position the alarm within 3 feet of the peak․ Avoid corners where airflow might be restricted․
Important considerations: Do not install in non-residential buildings․ Each living unit in multi-family buildings requires its own smoke alarms․ Ensure easy access for testing and maintenance․ Follow local codes and regulations regarding smoke alarm placement for comprehensive fire protection․
Mounting the Smoke Alarm (Step-by-Step)
Preparation is key: Ensure the chosen location meets the guidelines outlined previously․ Gather necessary tools – a screwdriver, drill (if needed), and mounting hardware included with your Firex alarm․
Step 1: Mark the mounting bracket’s screw holes on the ceiling or wall․ Step 2: Drill pilot holes if necessary, especially for concrete or plaster surfaces․ Step 3: Securely attach the mounting bracket using the provided screws․
Step 4: Connect the alarm to the bracket, rotating it clockwise until it clicks into place․ Step 5: For hardwired models, carefully connect the wires according to the wiring instructions (see separate section)․ Step 6: Test the alarm immediately after mounting to confirm proper functionality․
Final Check: Verify the alarm is firmly attached and the test button is accessible․
Wiring Instructions (for Hardwired Models)
Safety First: Before commencing any wiring, completely disconnect power to the circuit at the breaker box․ Verify the power is off using a non-contact voltage tester․ Incorrect wiring can cause fire or electric shock․
Step 1: Identify the wires – typically black (hot), white (neutral), and bare copper or green (ground)․ Step 2: Connect the black wire from the alarm to the black wire in the junction box using a wire connector․ Step 3: Connect the white wire from the alarm to the white wire in the junction box․
Step 4: Connect the ground wire from the alarm to the bare copper or green wire in the junction box․ Step 5: Carefully tuck the wires into the junction box, ensuring no wires are pinched or exposed․ Step 6: Securely mount the alarm to the bracket․
Final Step: Restore power at the breaker box and test the alarm․
Battery Installation and Type
Essential Power Source: Your Firex smoke alarm requires a battery for operation, even when hardwired, providing backup power during outages․ Always use a 9-volt battery; other types may not function correctly and could damage the alarm․ Ensure proper polarity when installing – match the “+” and “-” markings on the battery to those inside the battery compartment․
Installation Steps: Open the battery compartment, usually located on the back or side of the alarm; Insert the 9-volt battery, snapping it firmly into place․ Close the battery compartment securely․ A chirping sound indicates low battery; replace it immediately․
Battery Life: A new battery typically provides up to one year of protection․ However, environmental factors and alarm usage can affect battery life․ Regularly test your alarm to confirm battery functionality․ Dispose of used batteries responsibly, following local regulations․

Operation and Testing
Regular testing ensures your Firex alarm functions correctly; press the test button to simulate smoke, verifying the alarm sounds and indicators are working as expected․
Testing Your Smoke Alarm Regularly
Consistent testing is paramount to ensuring your Firex smoke alarm maintains optimal functionality and provides reliable protection․ It’s recommended to test your alarm at least once a month․ To initiate a test, simply press and hold the test button located on the alarm’s housing․ This action simulates the presence of smoke within the sensing chamber․
During the test, the alarm should emit a loud, piercing sound – a clear indication that the electronic circuitry, horn, and battery (if applicable) are operating correctly․ Observe the alarm’s indicator lights as well; they should illuminate during the test sequence, confirming the alarm is responding to the simulated threat․
If the alarm fails to sound, or if the indicator lights do not activate, immediately investigate the cause․ Check the battery (if battery-powered), ensuring it’s fresh and properly installed․ If the alarm is hardwired, verify the power supply is functioning․ If issues persist, consult the troubleshooting section of this manual or contact Firex customer support for assistance․ Never disregard a failed test; a non-functional alarm offers no protection․
Understanding Alarm Sounds and Indicators
Your Firex smoke alarm communicates its status through distinct sound patterns and indicator light behavior․ A continuous, loud beeping signifies a detected smoke condition, demanding immediate attention and evacuation․ The alarm’s tone is specifically designed to be easily distinguishable from other household sounds․
Short, intermittent chirps – typically occurring once per minute – usually indicate a low battery condition․ Replace the battery promptly to restore full protection․ A different chirp pattern might signal a malfunction; refer to the troubleshooting section for specific guidance․
The alarm’s indicator light (often LED) provides visual cues․ A flashing light generally confirms the alarm is receiving power and is in operational mode․ A solid light during testing confirms proper function․ If the light is absent or behaving erratically, it could indicate a problem requiring investigation․ Familiarizing yourself with these signals is crucial for a swift and appropriate response to potential fire hazards․
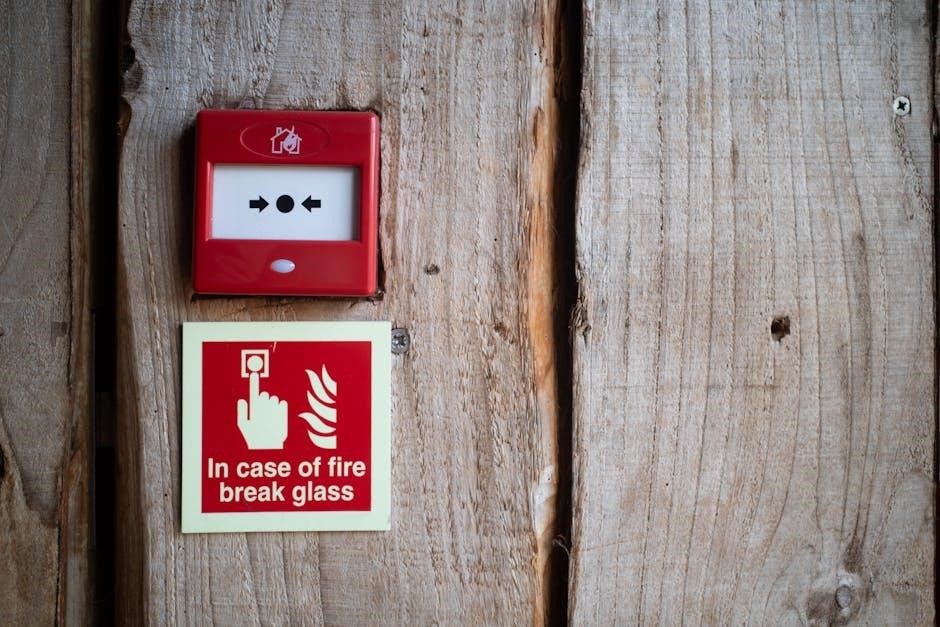
Silence/Hush Feature – How to Use It
The Silence/Hush feature is designed to temporarily silence nuisance alarms caused by cooking smoke or steam, not actual fires․ Locate the dedicated Hush button on your Firex smoke alarm – its position may vary depending on the model․ Pressing this button will temporarily desensitize the alarm for a pre-determined period, typically several minutes․
During the hush period, the alarm will ignore new smoke detection, preventing further false alarms․ However, it remains active and will sound if smoke levels reach dangerous thresholds․ It’s crucial to address the source of the nuisance alarm – such as improving ventilation while cooking – rather than relying solely on the Hush feature․
After the hush period expires, the alarm will automatically resume normal operation․ Avoid using the Hush feature to ignore potential fire hazards; always investigate the cause of any alarm activation․ Repeated use of the Hush feature indicates a need to relocate the alarm or improve ventilation․
Interconnected Alarms – Functionality and Benefits
Firex offers interconnected smoke alarm systems, enhancing home safety by linking multiple alarms together․ When one alarm detects smoke, all interconnected alarms sound simultaneously, alerting occupants throughout the entire house, even if the fire originates far from the initial detection point․
This is particularly beneficial in larger homes or those with multiple levels, where a single alarm might not provide sufficient warning; Interconnection can be achieved through hardwired connections during installation or wirelessly, depending on the model․ Wireless interconnection simplifies installation, eliminating the need for extensive wiring․
Regularly test the interconnected system to ensure all alarms communicate effectively․ Interconnected alarms provide a crucial advantage in early fire detection, increasing the chances of safe evacuation and minimizing potential damage․ Always follow the manufacturer’s instructions for proper interconnection and testing procedures․
Maintenance and Troubleshooting
Regular cleaning, battery replacement, and addressing false alarms or power issues are vital for maintaining your Firex smoke alarm’s reliability and optimal performance․
Cleaning Your Smoke Alarm
Dust, dirt, and insects can accumulate inside your Firex smoke alarm, potentially causing malfunctions or reducing its sensitivity․ To ensure optimal performance, regular cleaning is crucial․ Before cleaning, always disconnect the alarm from the power source – either by removing the battery or switching off the circuit breaker if it’s hardwired․
Use a vacuum cleaner with a soft brush attachment to gently remove any visible dust or debris from the exterior of the alarm and around the sensor openings․ Avoid using water, cleaning solutions, or detergents, as these can damage the internal components․ For stubborn dirt, a slightly damp cloth may be used, but ensure the alarm is completely dry before restoring power․
Important: Do not disassemble the alarm for cleaning․ This could compromise its functionality and void the warranty․ Cleaning should be performed at least every six months, or more frequently in dusty environments․ A clean alarm is a more reliable alarm, contributing significantly to your home’s fire safety․
Replacing the Battery
Your Firex smoke alarm will emit a chirping sound to indicate a low battery․ Prompt battery replacement is vital to maintain continuous protection․ Before replacing, identify the correct battery type specified for your model – typically a 9-volt battery․ Ensure you have a fresh, reliable battery readily available․
To access the battery compartment, locate the battery door on the alarm․ It usually slides or hinges open․ Remove the old battery and carefully connect the new battery, matching the polarity markings (+ and -) inside the compartment․ Once the new battery is installed, test the alarm using the test button to confirm it’s functioning correctly․
Important: Dispose of used batteries responsibly, following local regulations․ It’s recommended to replace the battery at least once a year, even if the alarm hasn’t chirped, as a preventative measure․ Regular battery replacement ensures your Firex smoke alarm remains a dependable life-saving device․
Troubleshooting Common Issues (False Alarms, No Power)
False alarms can occur due to dust, insects, or cooking fumes․ To resolve, gently vacuum the alarm’s exterior and ensure proper ventilation in the kitchen․ Avoid placing alarms near steam or humidity sources․ If false alarms persist, relocate the unit․
If your Firex smoke alarm has no power, first check the battery․ Ensure it’s correctly installed with the proper polarity․ If the battery is new and correctly installed, verify the power source for hardwired models – check the circuit breaker․ A tripped breaker will prevent the alarm from functioning․
If issues continue, consult the full instruction manual or contact Firex customer support․ Never disable the alarm to stop a false alarm; address the underlying cause instead․ Regular testing and maintenance are crucial for reliable operation․ Ignoring alarms or disabling them compromises your safety․
Alarm Memory Feature – Understanding and Resetting
Many Firex smoke alarms feature an alarm memory function․ This crucial feature allows the alarm to indicate when a previous alarm occurred, even if the initial smoke or hazard is no longer present․ A flashing LED, often accompanied by a specific chirp pattern, signals that the alarm memory is active․
Understanding this feature is vital because it alerts you to investigate the cause of the previous alarm, even if you didn’t witness it directly․ Ignoring the memory indicator could mean a lingering hazard remains undetected․
To reset the alarm memory, typically you need to press and hold the test/silence button for a specified duration – usually several seconds․ This clears the memory and prepares the alarm for future events․ Refer to your specific model’s manual for precise reset instructions․ Regular resetting after addressing the initial alarm is recommended․

Safety Information
Prioritize fire safety with these tips: have escape plans, never disable alarms, and understand limitations; smoke alarms aren’t substitutes for vigilance and prevention․
Fire Safety Tips and Emergency Procedures
Developing a comprehensive fire escape plan is paramount for household safety․ Regularly practice this plan with all family members, ensuring everyone understands designated meeting points outside the home․ These locations should be a safe distance away from the building, easily identifiable, and free from obstructions․
In the event of a fire, prioritize immediate evacuation․ Do not attempt to retrieve belongings․ Crawl low under smoke, as cleaner air remains near the floor․ Once outside, stay outside and account for all individuals․
Crucially, call emergency services (911 or your local equivalent) from a safe location․ Never re-enter a burning building․ Consider installing smoke alarms on every level of your home, inside bedrooms, and outside sleeping areas for maximum protection․ Regularly test alarms and replace batteries as needed; Remember, early detection and swift action can significantly reduce the risk of injury or loss of life․
Limitations of Smoke Alarms
While Firex smoke alarms significantly enhance fire safety, it’s crucial to understand their limitations․ These devices are not foolproof and may not provide warning in all fire situations․ Fires starting slowly, or those utilizing materials that don’t produce smoke, may not be detected promptly․ Smoke alarms are generally ineffective against explosions or hazardous gases․
Proper placement is vital; alarms cannot detect fires if smoke doesn’t reach them․ Obstructions, closed doors, or poor ventilation can hinder detection․ Regular maintenance, including testing and battery replacement, is essential for optimal performance․
This alarm is designed for use within single-family dwellings only; multi-family buildings require individual alarms in each unit․ Non-residential buildings are also unsuitable․ Smoke alarms are not a substitute for responsible fire prevention practices, such as safe handling of flammable materials and diligent housekeeping․ Always prioritize fire safety awareness and preparedness․
Carbon Monoxide Detection (If Applicable)
Please note: The standard Firex PADC240 smoke alarm model does not include carbon monoxide (CO) detection capabilities․ This unit is solely designed to detect smoke particles associated with fire․ If you require protection against the dangers of carbon monoxide, a separate, dedicated CO alarm is absolutely essential․
Carbon monoxide is a colorless, odorless, and poisonous gas produced by incomplete combustion of fuels like natural gas, propane, and wood․ Exposure can lead to flu-like symptoms, serious illness, and even death․ A dedicated CO alarm will provide specific warnings if dangerous levels are present․
For comprehensive safety, consider installing both smoke and CO alarms throughout your home, following manufacturer’s guidelines for placement․ Ensure CO alarms are installed near sleeping areas․ Regularly test both types of alarms to confirm proper functionality․ Do not rely solely on a smoke alarm for protection against carbon monoxide poisoning․
Disposal and Recycling Information
Proper disposal of your Firex smoke alarm is crucial for environmental responsibility and safety․ Do not simply discard the unit with your regular household waste․ Smoke alarms contain electronic components and potentially hazardous materials that require specialized handling․
Check with your local waste management authorities for specific regulations regarding electronic waste (e-waste) disposal in your area․ Many communities offer designated e-waste collection events or drop-off locations․ These facilities ensure proper recycling and prevent harmful substances from entering landfills․
Remove the battery before disposal․ Dispose of the battery separately according to local battery recycling guidelines․ Some retailers also offer battery recycling programs․ By responsibly disposing of your old smoke alarm, you contribute to a healthier environment and support sustainable practices․ Never incinerate the alarm․
Technical Specifications
The Firex PADC240 features include a photoelectric sensor, battery operation, and suitability for single-family homes; model numbers vary based on features offered․
Model Numbers and Features Comparison
Firex offers a range of smoke alarms, each designed with specific features to cater to diverse needs․ The PADC240, a popular choice, utilizes a photoelectric sensor, excelling at detecting smoldering fires․ Other models may incorporate ionization sensors, more responsive to fast-flaming fires, or a dual-sensor approach for comprehensive protection․
Interconnected models, denoted by specific suffixes in their model number, allow alarms to trigger simultaneously throughout the home, enhancing awareness․ Battery-powered versions, like the PADC240, provide flexibility in placement, while hardwired models integrate with the home’s electrical system, often including battery backup․
Consider features like hush buttons for temporary silencing of nuisance alarms, alarm memory to indicate past activations, and compatibility with existing interconnected systems․ Comparing model numbers and their corresponding specifications ensures you select the Firex smoke alarm best suited for your home’s layout and safety requirements․